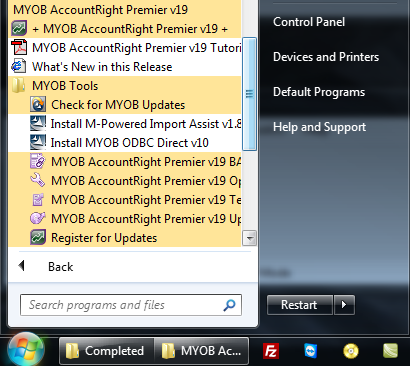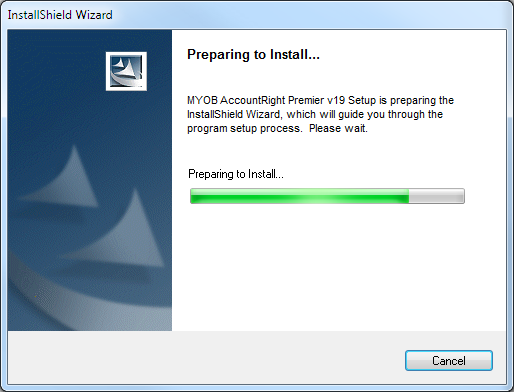
Start the MYOB installation by clicking the setup.exe file of the version you want to use. This guide uses MYOB AccountRight Premier v19.
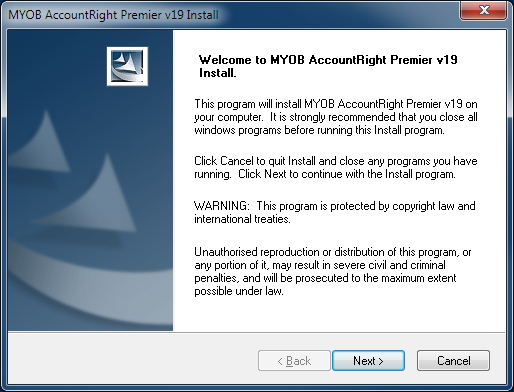
Click “Next” to proceed with the installation.
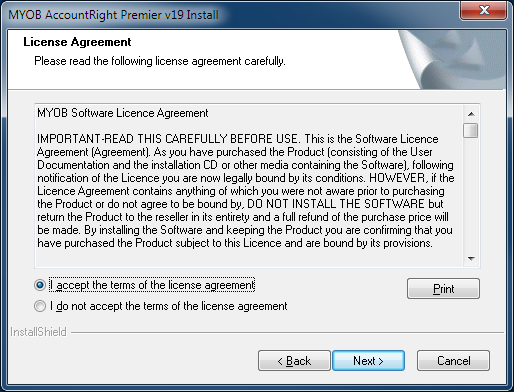
Click the button to accept the terms of the license agreement. If you do not accept this agreement you will be unable to install MYOB.
Select the type of installation you would like to perform. “Complete” will install all of the program features and use more room, “Custom” will allow you to select which features will be installed.
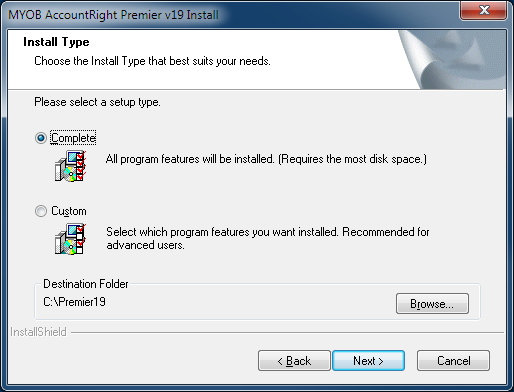
Select where you would like MYOB to be installed. In nearly all cases, the default location is the best. Only change this if advised to by MYOB.
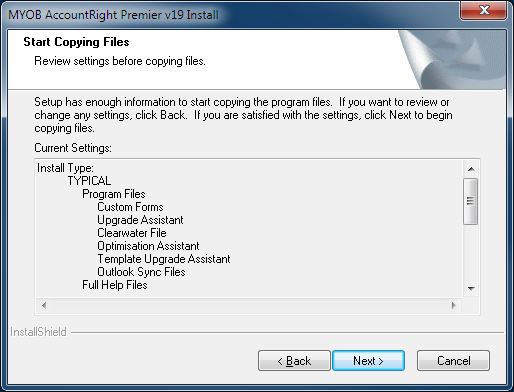
Confirm the location of the installation and files that will be installed. Press “Next” to confirm and proceed with the installation.
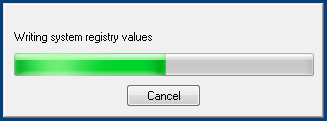
The MYOB installation will start to take place. It is a good idea to not use any other programs whilst the installation in taking place.
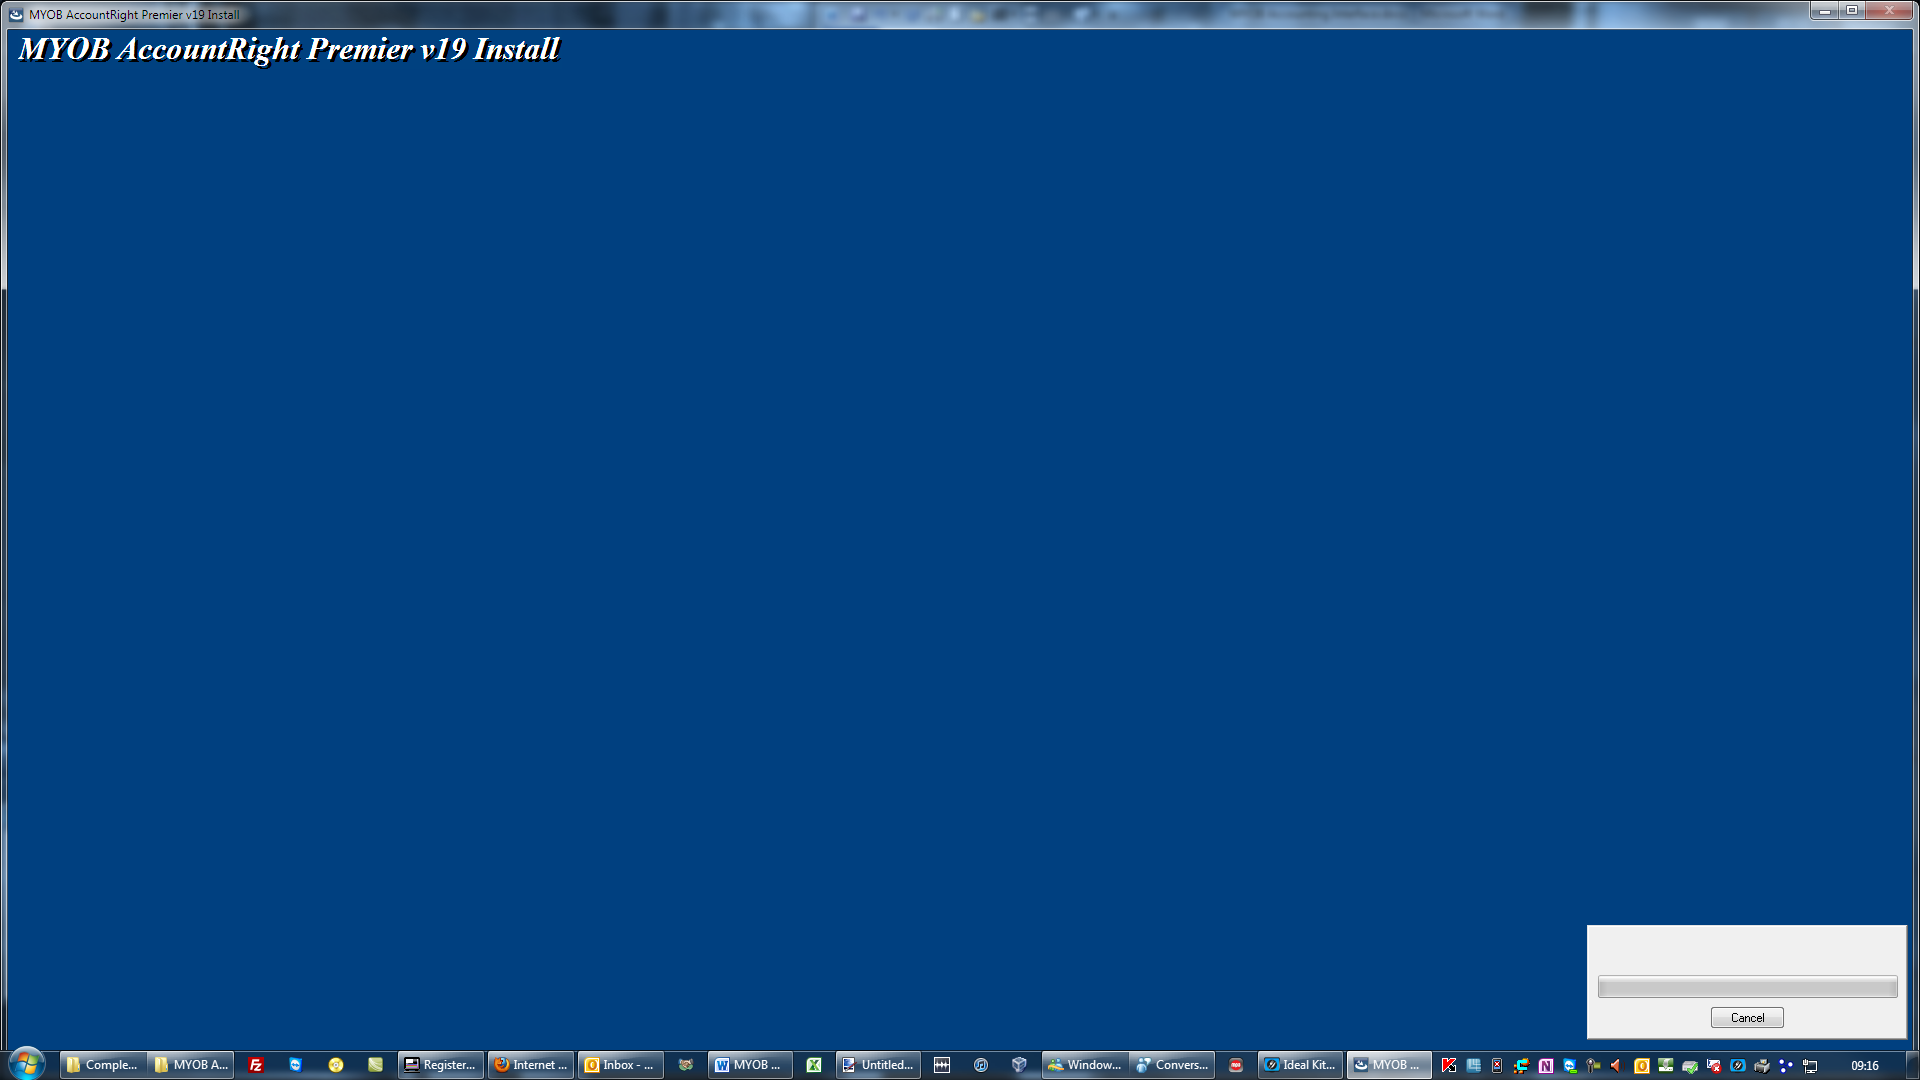
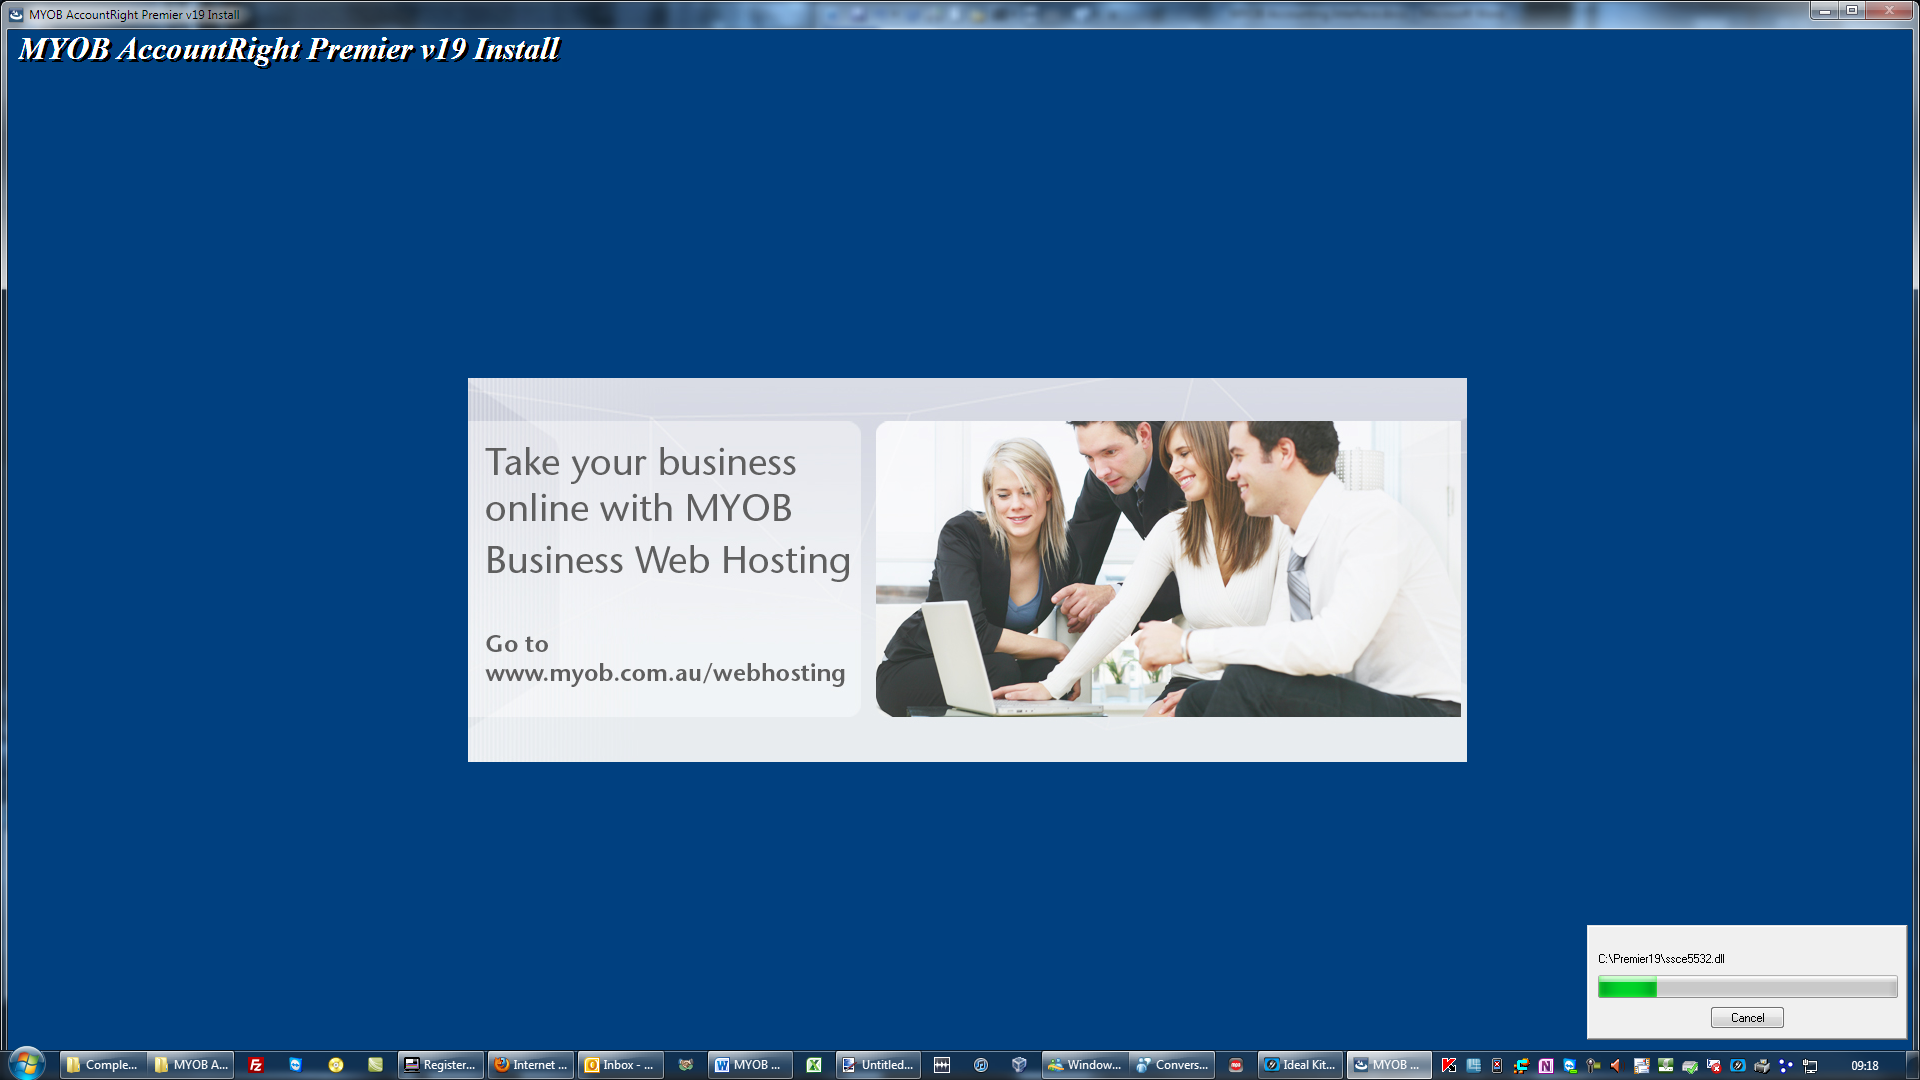
The progress window in the bottom-right corner of the screen will display the current installation details.
Expect to see advertisements and support details from MYOB in the main window.
One of the last features to be installed is the ODBC connection. The ODBC connection allows Idealpos to write details to the MYOB file.

Once the installation has installed all necessary features click “Finish” to exit the installation.

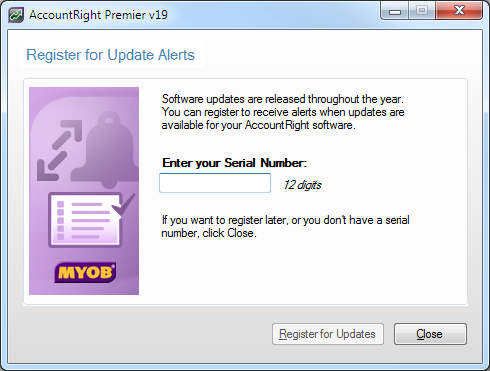
You can register your copy of MYOB for alerts and updates to the software.
If the ODBC connection did not install properly you can find the installation file under the Start Menu > MYOB > MYOB Tools > Install MYOB ODBC Direct v10.